Note that though Nestr supports SAML, in most cases newer authentication methods like OAuth and OpenID allow most of the benefits of SAML, don't need any configuration to use and offer a more seamless user experience.
SAML (Security Assertion Markup Language) is an authentication protocol to allow an organisation to centrally administer who within your organisation has access to what apps using an Identity Provider (IDP). If your organisation requires the use of SAML, here is how you can configure it.
Configure your Identity Provider
Depending on your Identity Provider (eg. Azure) there might be some small differences in how the different fields are named. You should find where you can configure Single-sign-on (SSO) and configure SAML to use the following fields.
| Identifier (Entity ID) | https://app.nestr.io |
| Reply URL (Assertion Consumer Service URL) - Replace the domain.com with your registered domain |
https://app.nestr.io/saml/consume/domain.com |
Under Attributes & Claims we please use the following setup.
| Claim name | Value |
| givenname | user.givenname |
| surname | user.surname |
| emailaddress | user.mail |
| Unique User Identifier | user.mail |
Configure Nestr
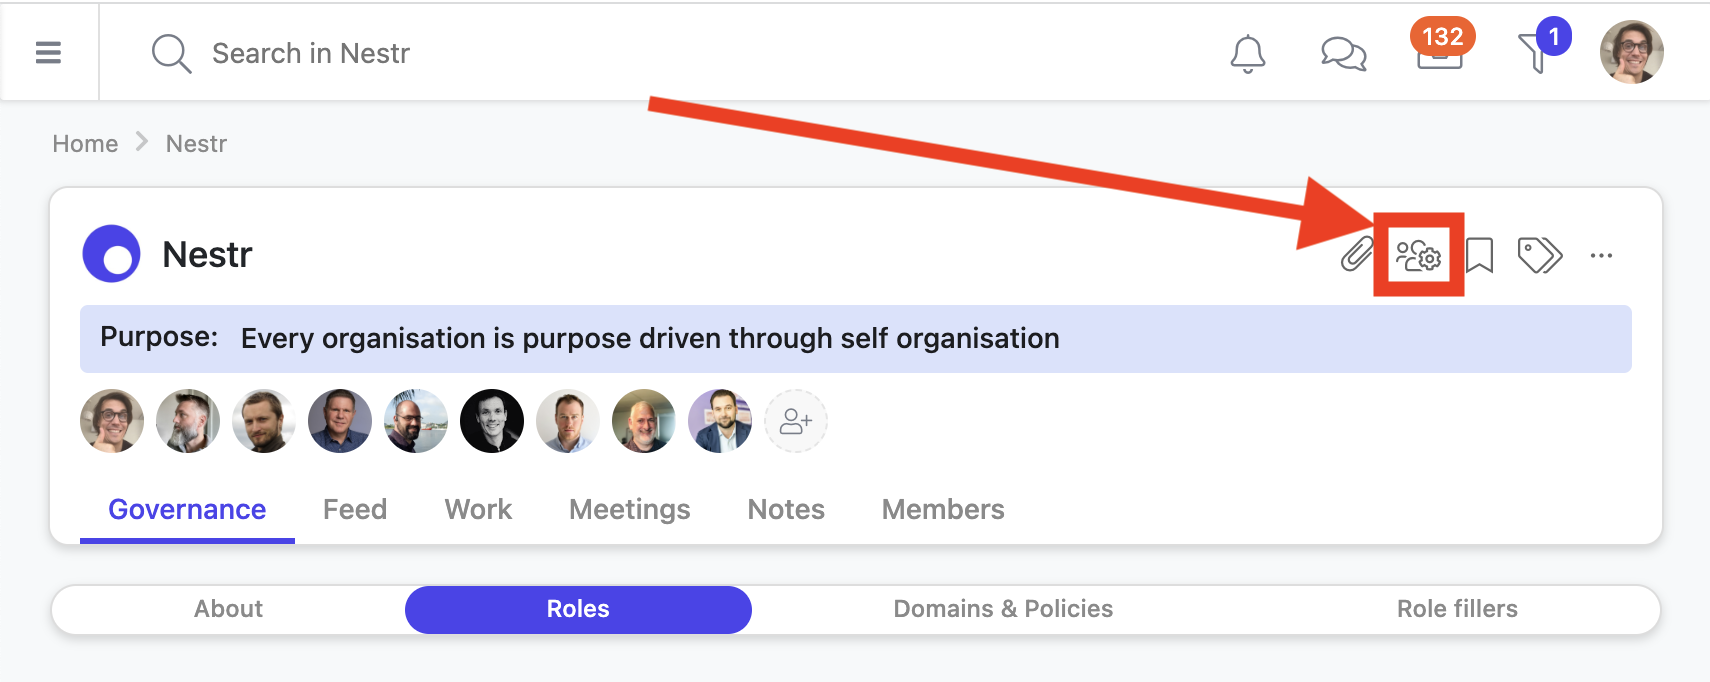
Navigate to your workspace settings and go to the "Integrations" tab.
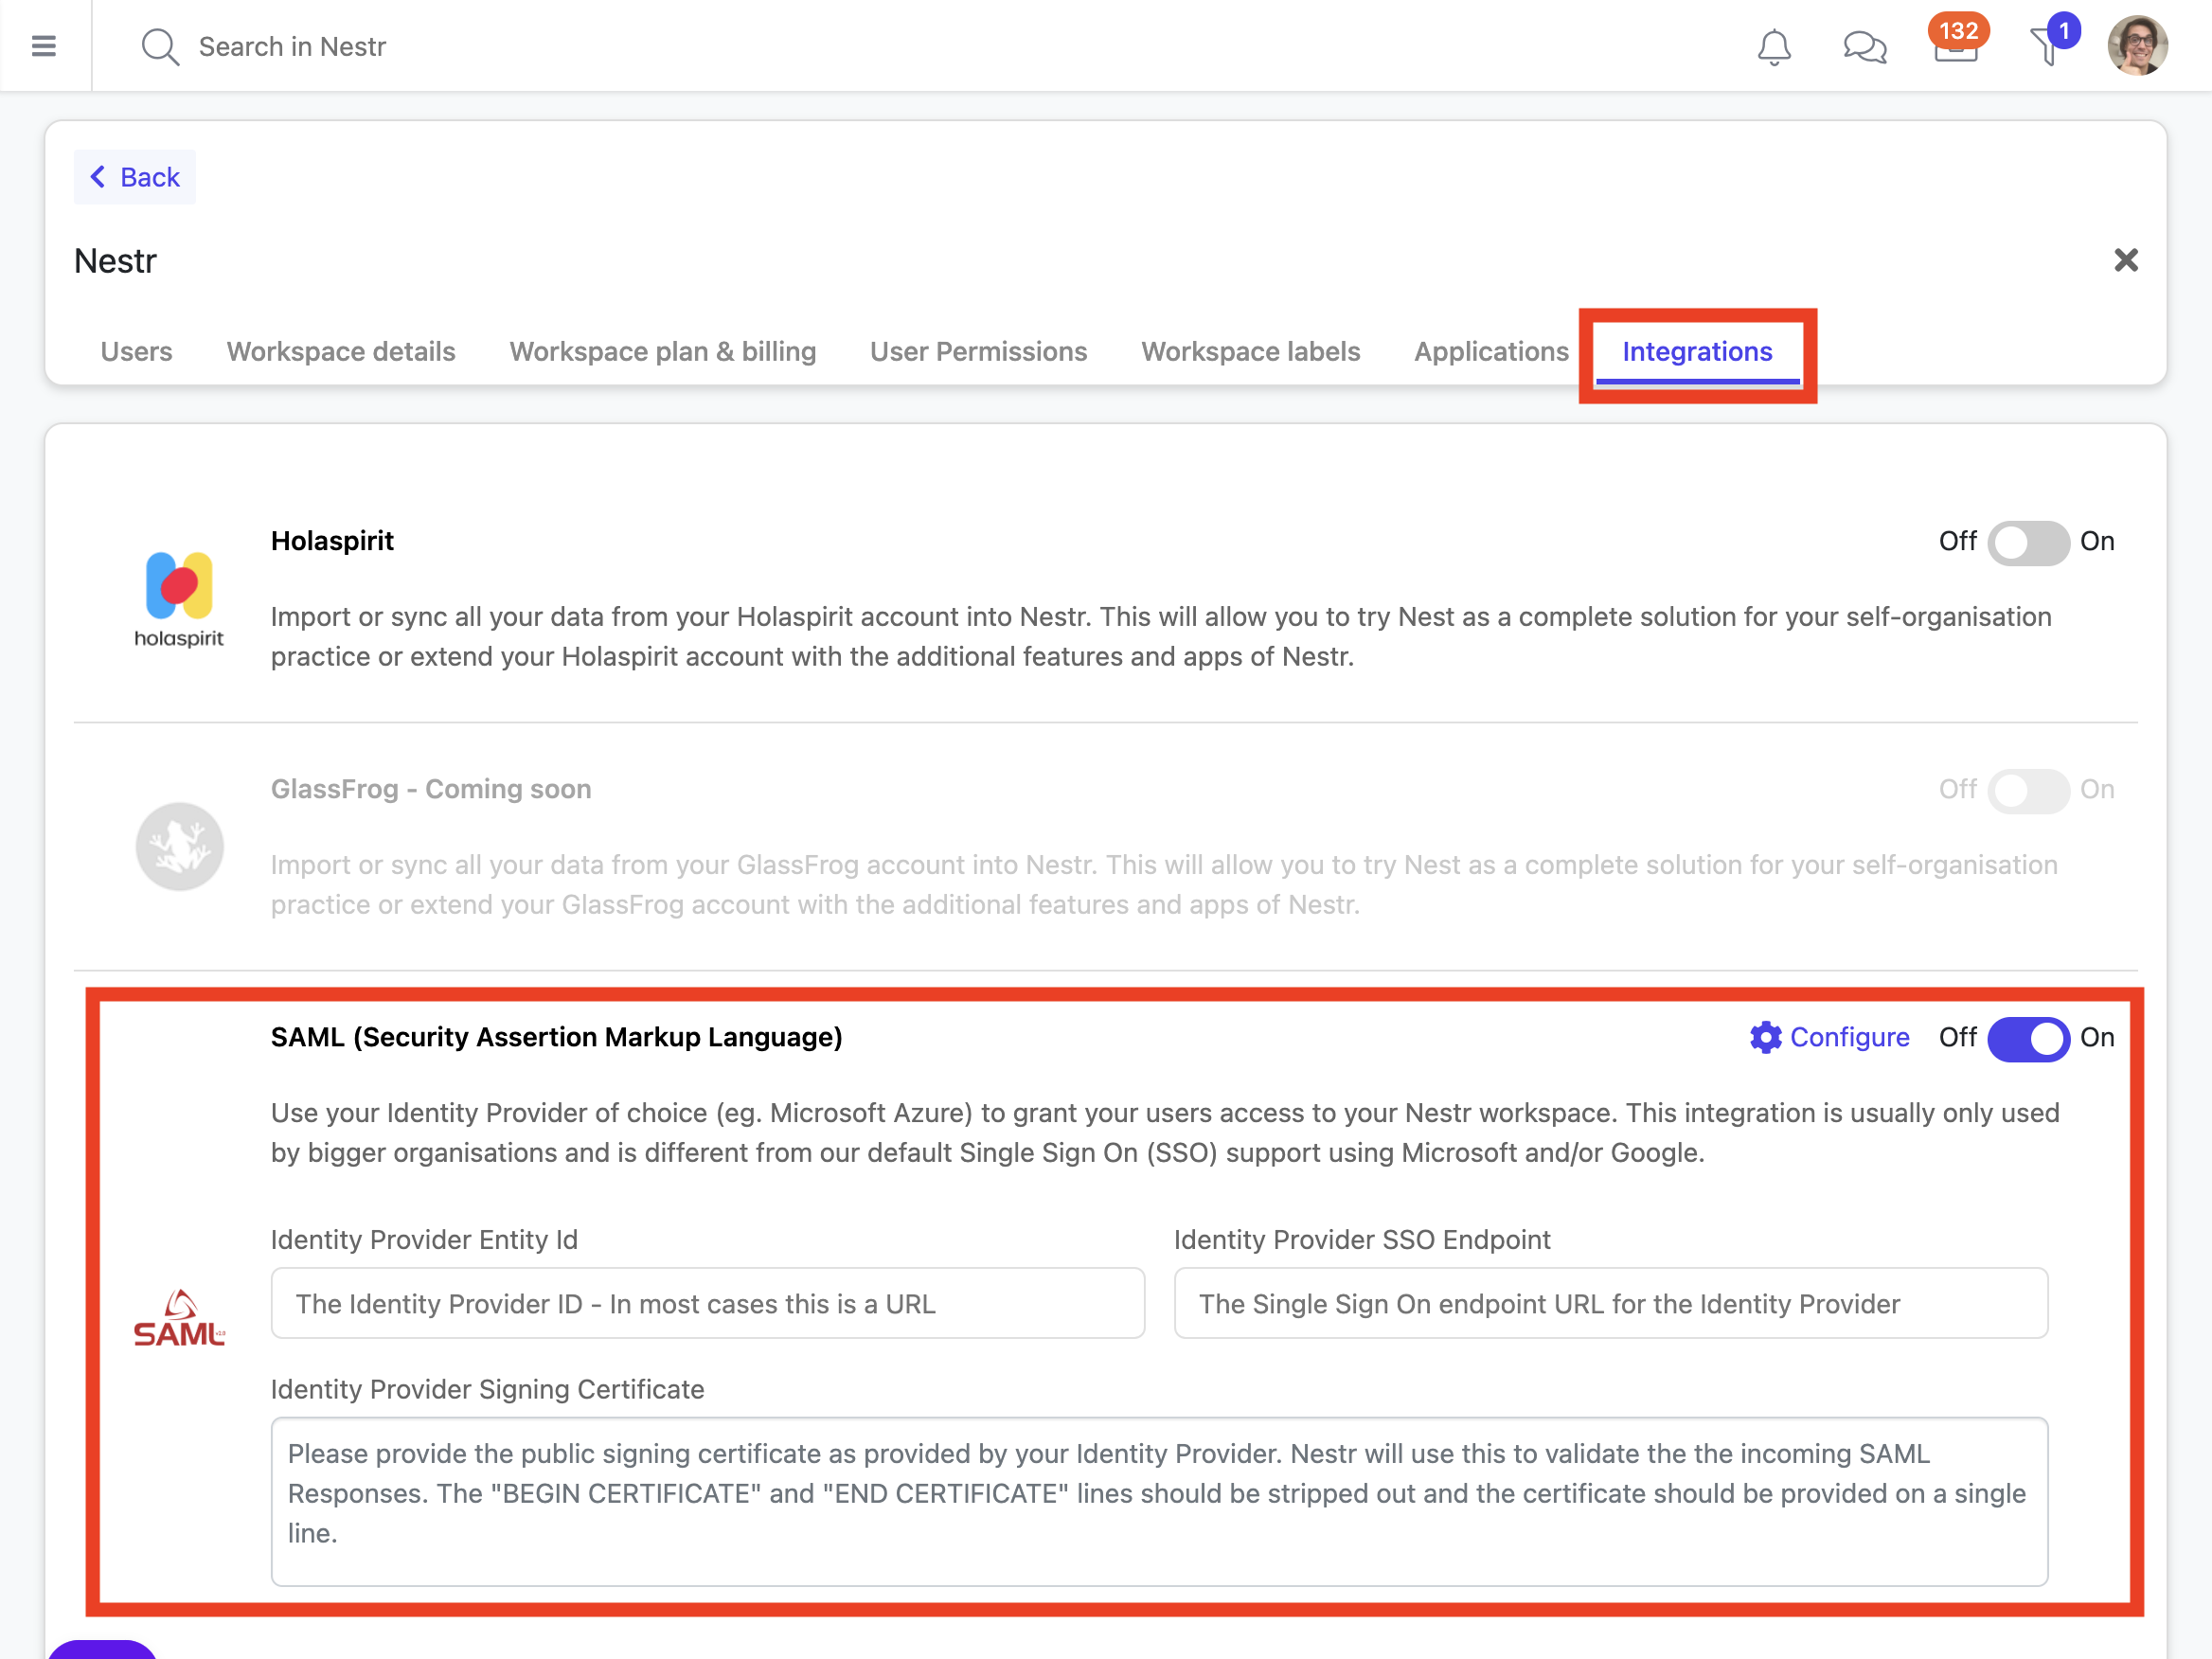
In your Identity Provider, find the correct values for the following fields and paste them into the configuration fields as shown above.
| Identity Provider Entity ID | This is an ID specific to your app configuration within the Identity Provider. For Azure this looks something like: https://sts.windows.net/xx....xx/ |
| Identity Provider SSO endpoint | This is the login URL Nestr will point users to wanting to login to a workspace using SAML. For Azure this looks something like https://login.microsoftonline.com/xx....xx/saml2 |
| Identity Signing Certificate | This is a certificate used to ensure the login requests come from the correct IDP and you can download this from your IDP. Open it in a text editor and paste it into the field. It should start with -----BEGIN CERTIFICATE----- and end with -----END CERTIFICATE----- |
Finally, to make this setup work flawlessly, we recommend you to add all the email domains you use within your organisation. Navigate to "User permissions" and check "Allow email users from certain domains to join this workspace". There you can add all domains you control (we'll take you through a verification process) so that when people try to login with those email addresses, they will be redirected to your required SAML authentication.