Generate a Nestr API key
The Nestr api allows manipulation of nests from outside the Nestr application. The api can be used to create an integration with other applications, or to easily add nests from anywhere.
To get started, go to your workspace settings where you'll find a tab "Integrations"
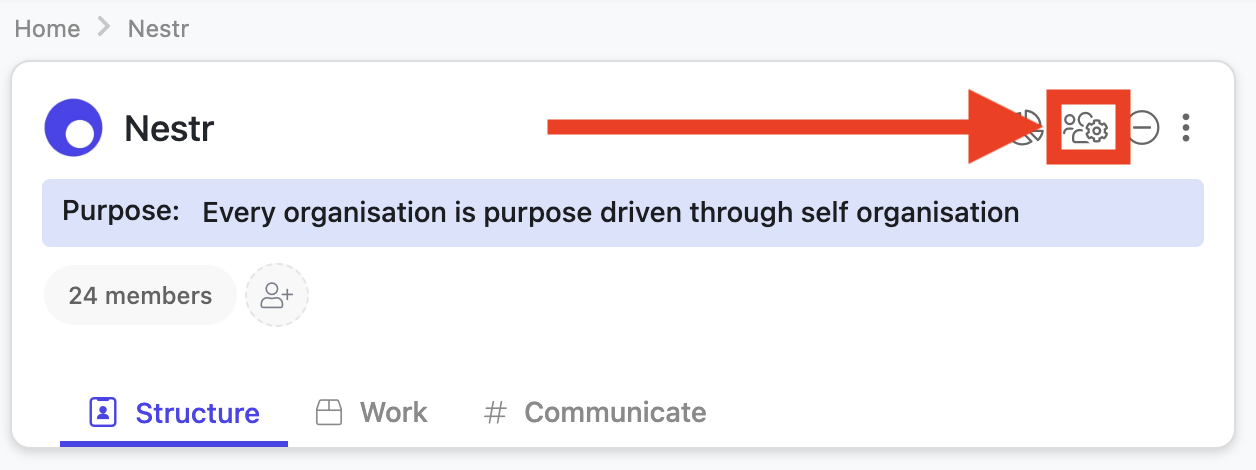
There you'll find the "Workspace API access" integration. Click in "configure" and create a new API key.
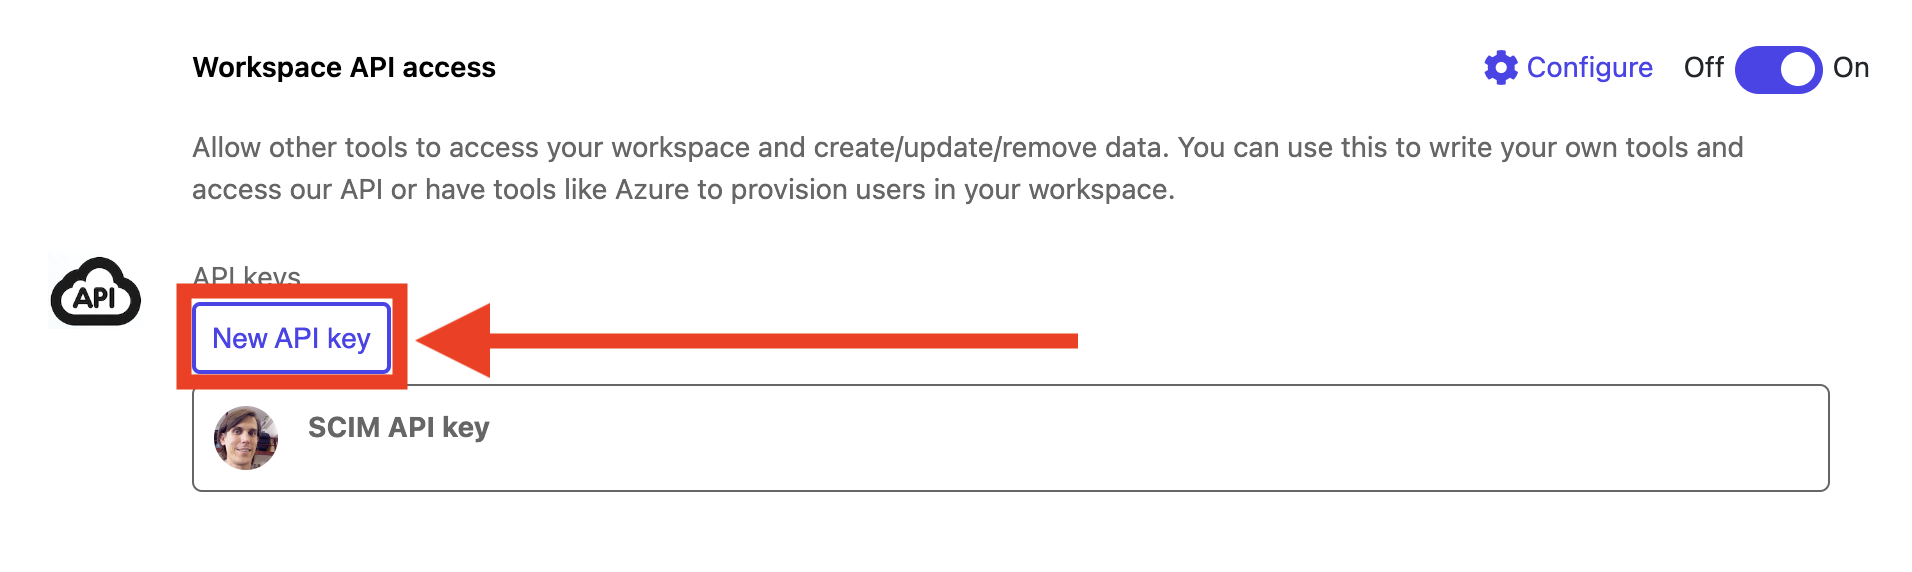
You can optionally name the API key and give a description. If you have multiple integrations, it pays to setup a key for each one and name them accordingly. For example one key for your "CRM integration" and other for your "Slack integration". Once you named your API key, click "Create API key". This will generate and store the key for you. We will only show you the key once, so make sure you copy it and store it securely in a password manager. If you loose this key, invalidate it immediately as anyone with the key has full access to your workspace. Never email or share the key. If others in your organisation need access, let them create their own keys.
Use your Nestr API key
Disclaimer: To use the API key, you either need to understand how using an API works or you should use it in another tool that will integrate with Nestr.
The Nestr API key is a Bearer token and will need to be presented to Nestr using the Authorization header like so: "Authorization: Bearer YOUR_NESTR_API_KEY". The following command should return you information about the workspace you created the API key for
curl -X GET "https://app.nestr.io/api/workspaces" \-H "Authorization: Bearer YOUR_NESTR_API_KEY" \-H "Content-Type: application/json"
Nestr API documentation
You can find up to date documentation on all our API endpoints on our API documentation page.