Great, you have signed up for Nestr and are ready to test it out. The fact you are hear probably means you care about purpose driven work and self-organisation.
There are many ways to self-organise and Nestr aims to support any and all experimentation around self-organisation. And since we don't pretent to know what the best way to self-organise is, we try to offer you a product that can adapt to your needs.
In this article I will lay out how you can configure Nestr to serve you as best as we can.
Creating a workspace
First, go ahead and setup a new workspace.
- Click the 'Add workspace' button on your hoe screen of click the '+ create -> workspace'. This will open the new workspace wizard.
- The first step in the wizard asks you if this is a personal or collaborative workspace. We are assuming you are setting up a collaborative workspace for now and will explain how to setup a personal workspace elsewhere.
- The second step in the wizard aks about your governance model. You can choose between General self organisation, Sociocracy or Holacracy. If the later two are unfamiliar to you, simply choose 'General self organisation'. In the background this will pre-configure your workspace for you.
- The third step in the wizard asks if you want Nestr to use AI to generate a starting structure of roles and circles for you or if you want to create these yourself manually.
- The last step asks you for the name, logo and purpose of your organisation. You may leave the logo and purpose empty and in the case of AI we'll attempt to autofill these for you.
Your worksapce is now created and ready for you to use. Here is an example of a non AI created workspace right after creation. Three core roles are created based on your governance method of choice.

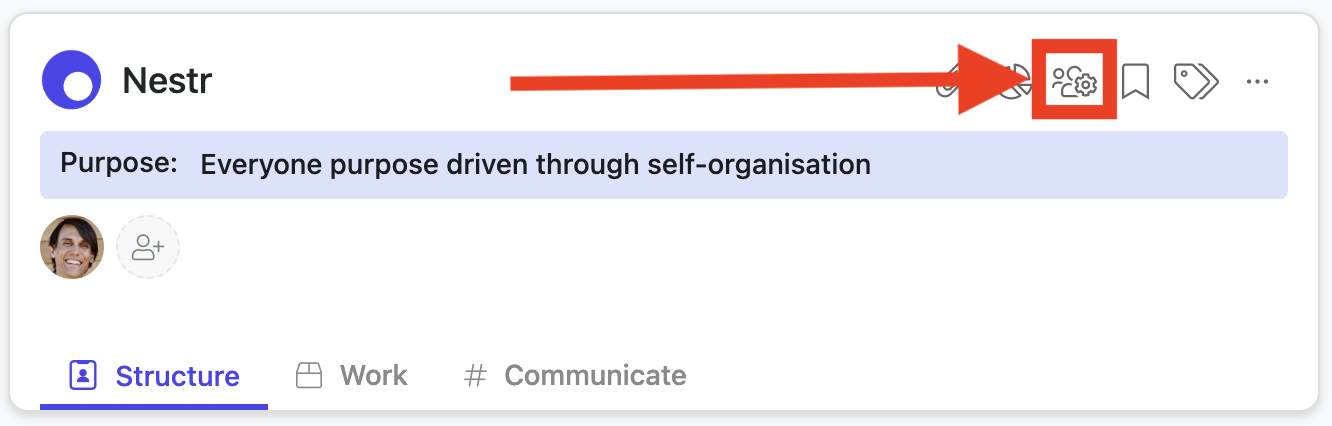
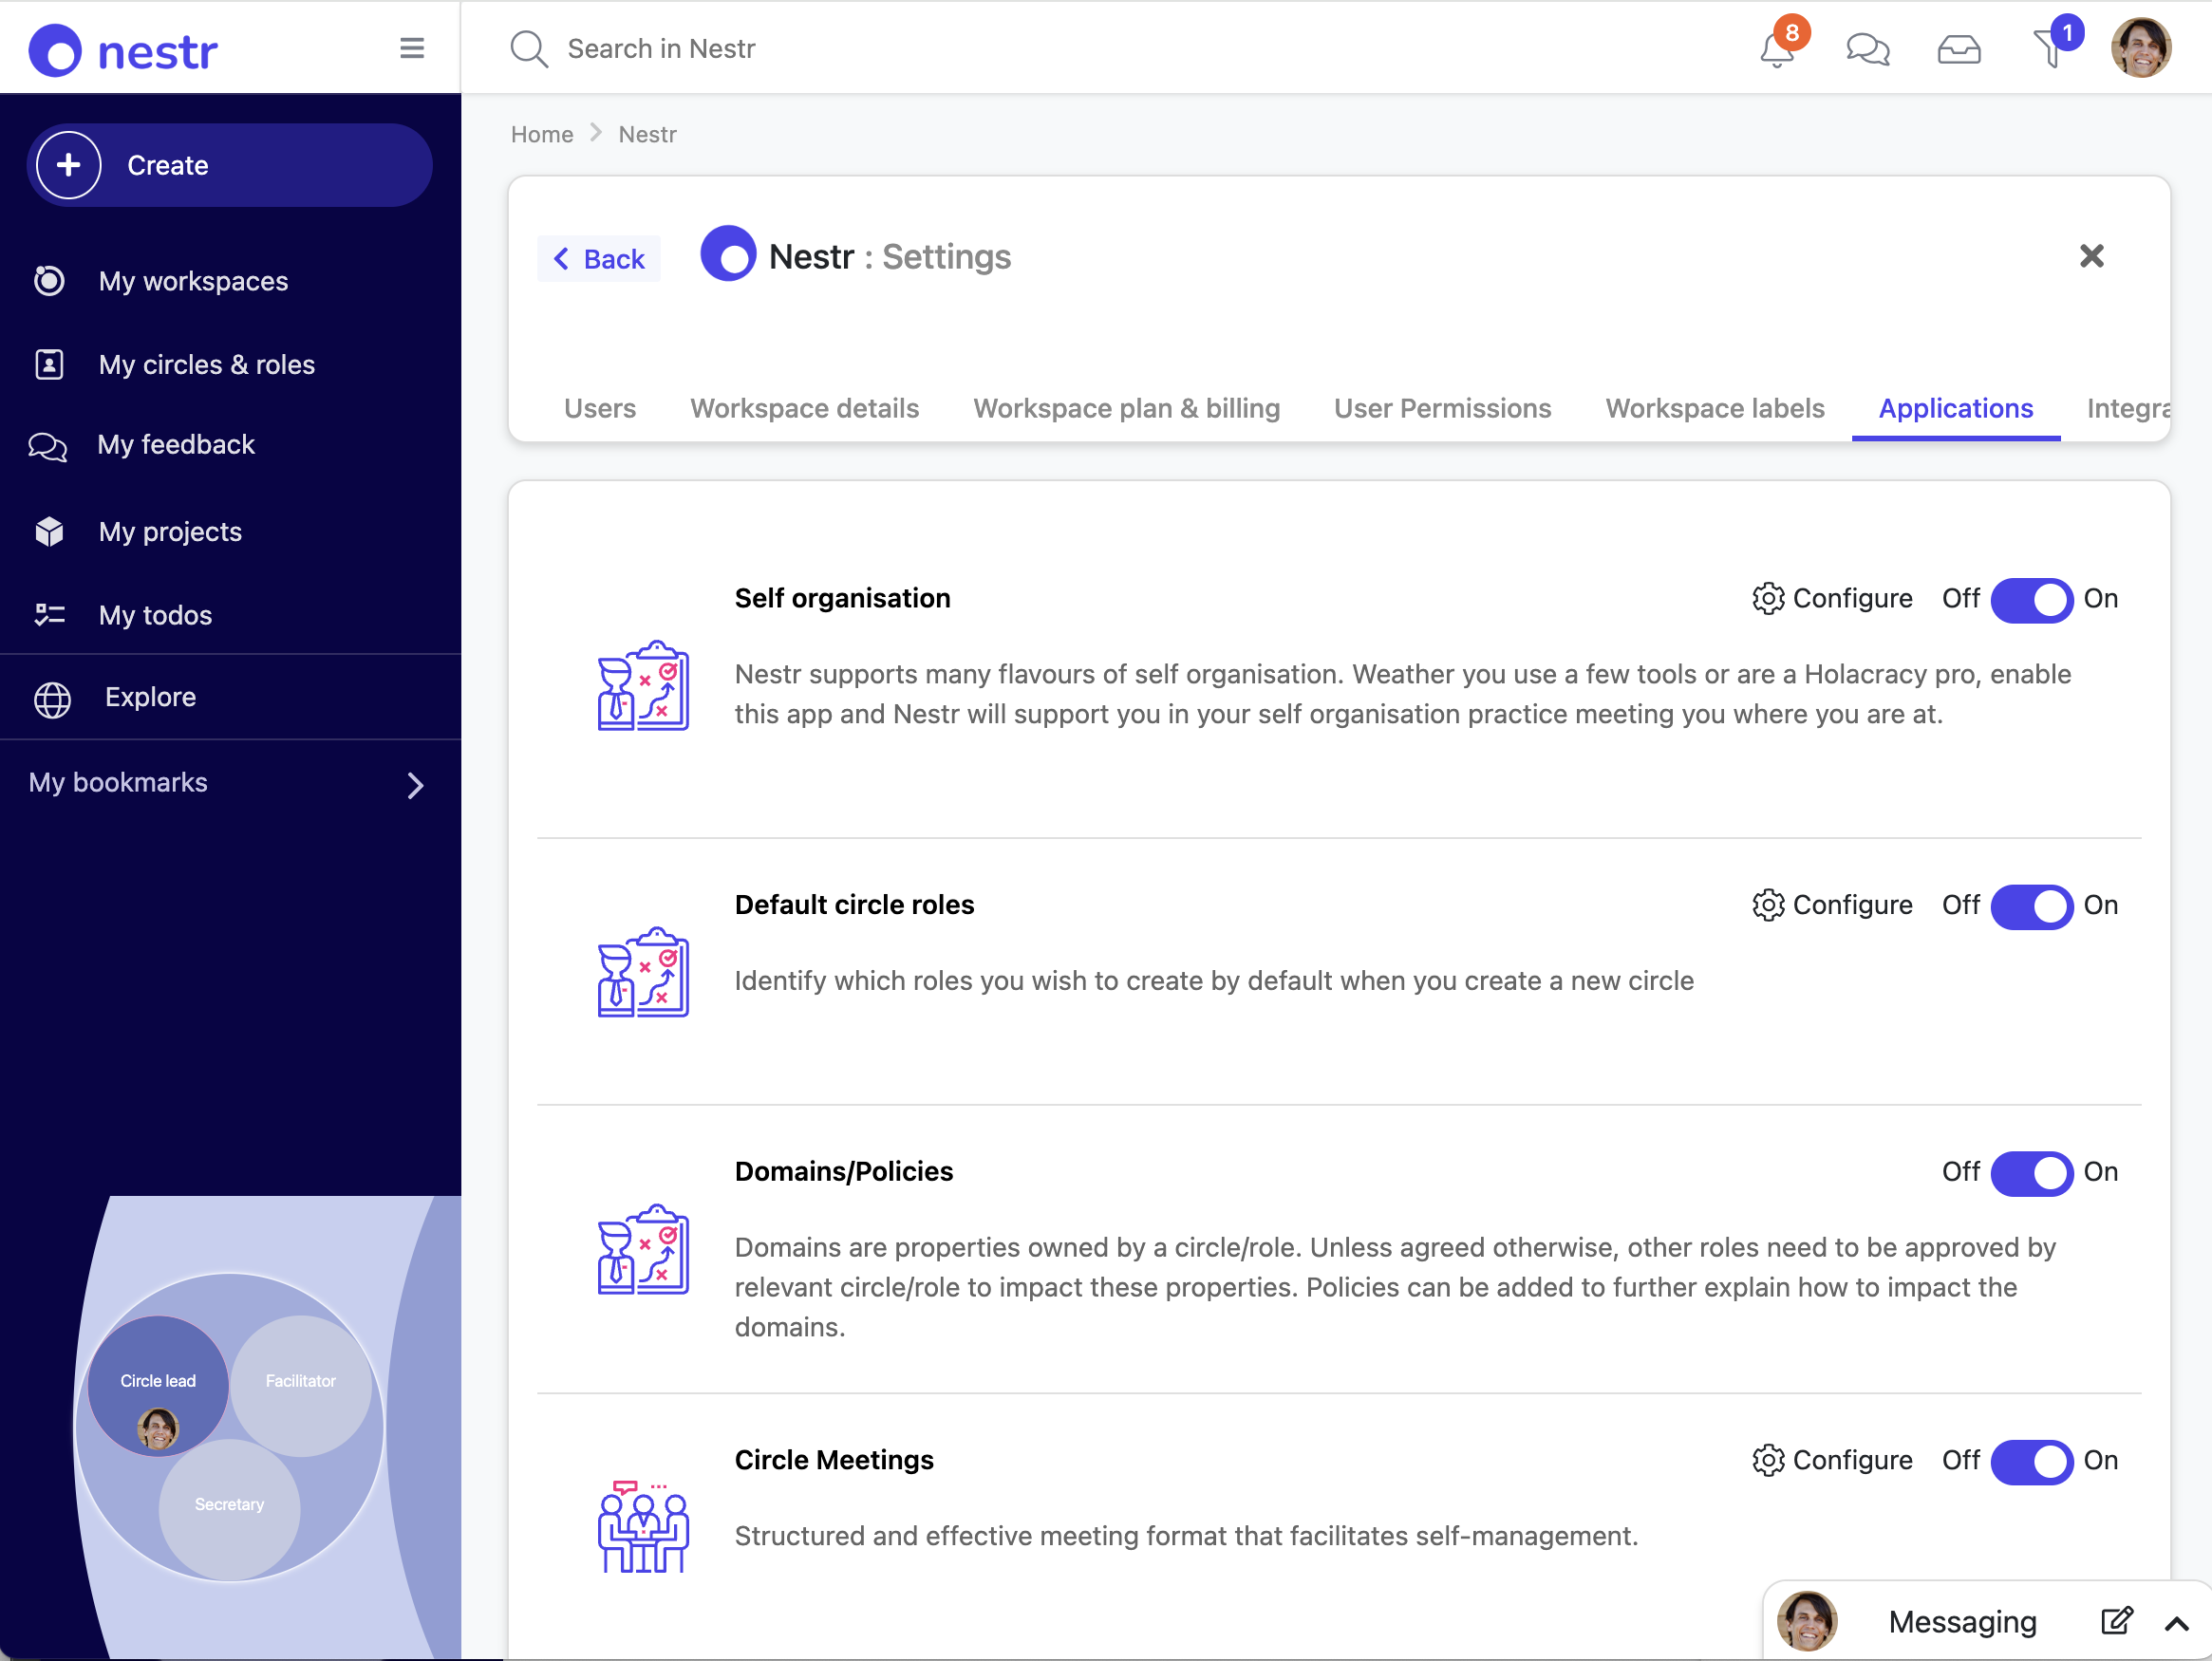
In the top right of the new workspace you will find a settings icon. Click it to further configure your workspace.
There you will find the following pages:
- Users: Invite your colleagues into this workspace to join you in your organisation.
- Workspace details: Update the name, purpose, logo of your workspace.
- Workspace plan & billing: Choose your plan and provide your billing details for your paid workspace.
- User Permissions: Setup how access rights are organised in this workspace and optionally add domain names you own allowing people signing up using an email on those domains to automatically join your worksapce.
- Workspace labels: Configure what labels are available in your workspace. This is very flexible and allows you to categorize your roles, circles and projects in any way you choose.
- Applications: What applications are available in this workspace. This will allow you to turn them on/off and configure them. (see screenshot below)
- Integrations: Which other tools and products do you want Nestr to integrate with? You can setup an ever growing list of integrations.
Importing data from other systems
If your are currently using another tool for your self-organisation, you can import that data into Nestr. Here is an article on how to do that for tools like Holaspirit, Glassfrog and others.
Nest steps
Now that your workspace is created, you can start using it. Here are a few articles that lay out the basics of using Nestr:
- Navigating Nestr - Understanding the different elements in Nestr
- Structure/Governance - creating and updating your shared agreements
- Work - self-organised collaboration with your peers
- Communicate - communicating with your peers using Nestr
- Search - Search for and finding things in Nestr
- The building blocks of Nestr - How Nestr works so you can configure it to serve your needs